You don’t need a studio to make a video people want to watch. To learn how to make a social media video, start with one clear idea, film for the platform, then edit so the point lands quickly.
We analyzed 48 comments and questions from YouTube, Reddit and Quora about creating social media videos and found that 38% mentioned clear content strategies.
Step 1: Set Your Goal, Audience, and Story
Goal: Know who the video is for and what you want them to do after watching.
Write down one goal before you film. It might be to explain a product feature, teach one small skill, or get viewers to visit a page. A video that tries to sell, teach, entertain, and tell your whole brand story at once will feel scattered.
Next, picture the person you want to reach. What do they already know? What question are they asking? A local bakery, for example, could show how a loaf gets its crisp crust, then invite viewers to stop by and try it. That gives the video one audience and one clear payoff.
Build a short story around a question or problem. In the first 3 to 5 seconds, show the result, ask a sharp question, or name the problem. Then explain the steps that lead to that result. Close with the answer or reveal you promised.
Write the script as if you’re telling a friend about it across a small table. Use words you’d say out loud. If you’re making a visual story, add text on screen so the viewer can follow the idea without sound.
For a platform-specific plan, the guide to making YouTube Shorts with AI covers scripts, vertical visuals, captions, and publishing.
Milestone: You should have one goal, one audience, and a simple hook, middle, and payoff.
Step 2: Choose Your Format and Prepare Your Shot
Goal: Match your frame and setup to where people will watch.
Choose the platform before you record. Short-form feeds often use portrait video, while other placements may call for square or widescreen. Check the current upload settings for your target platform, then set your phone or camera to match. Cropping a finished clip later can cut off a face, a product, or the words that explain the scene.
For a vertical shot, place the main subject near the center. Leave room around the face and hands, especially near the top and bottom, where app controls or captions may cover the image. If you plan to add text, keep the background calm where those words will sit.
Use the best resolution your device can handle without making the file hard to edit or upload. Keep your frame rate consistent from filming through export. A 24 fps setting can give footage a natural, film-like feel; choose a higher rate only when you want smoother motion or your camera supports it well.
Light the face or product from the front or side. A large window can work as a soft light source. Avoid a bright window behind the subject, which can leave the face dark. Before filming a full take, record a short test and check focus, exposure, and sound.
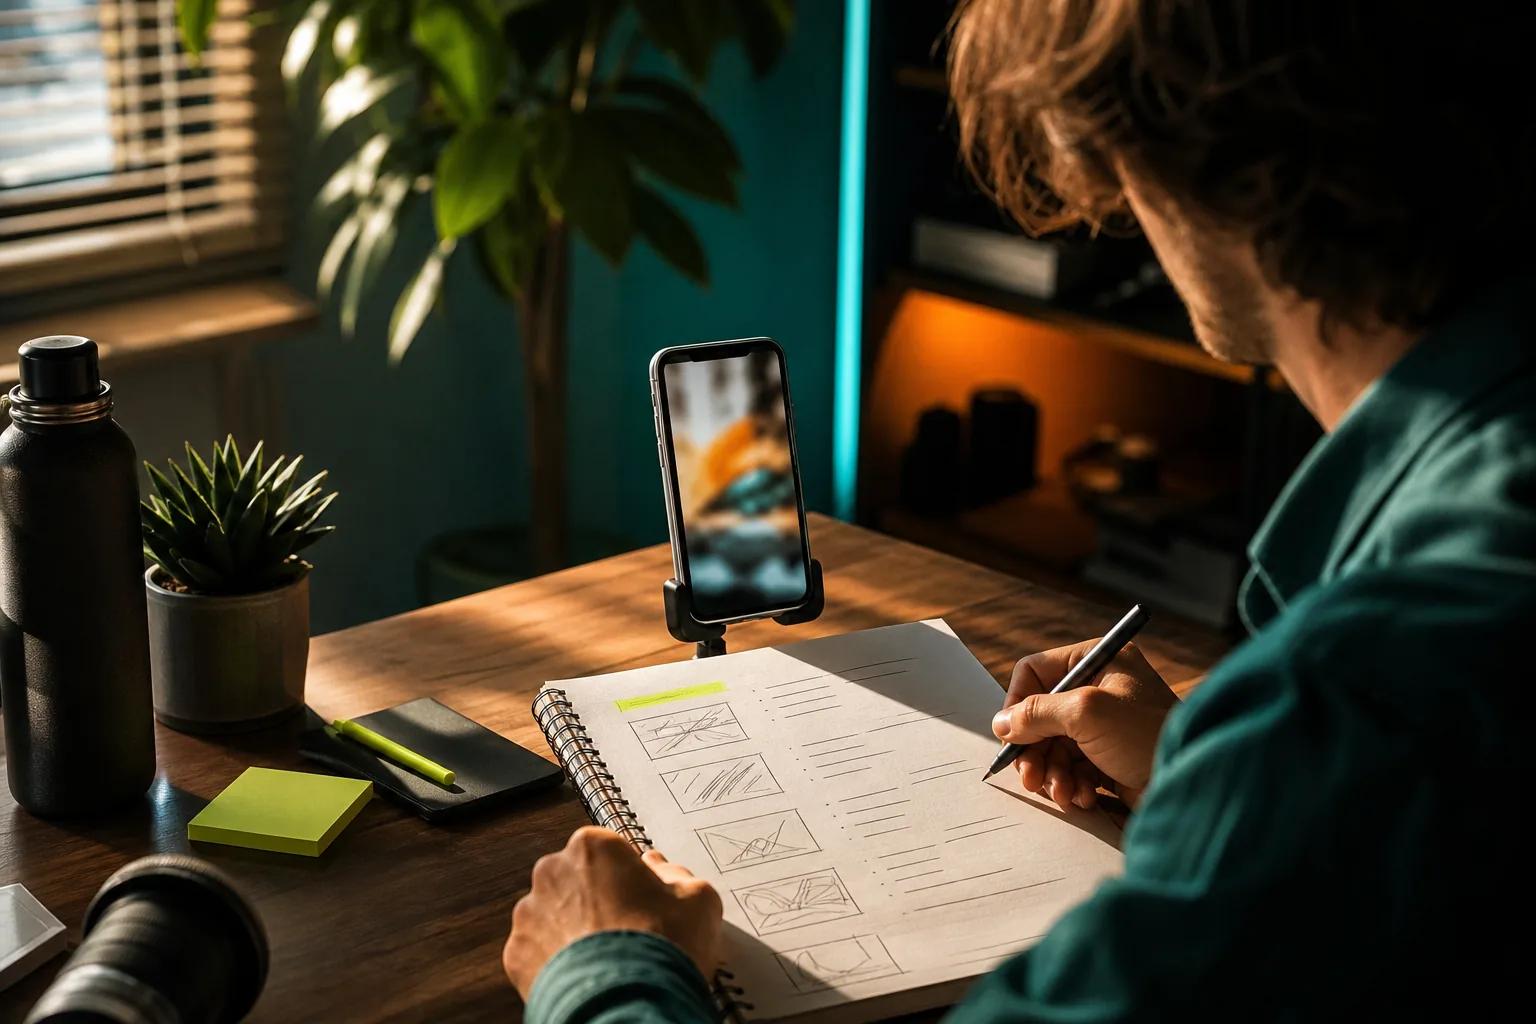
Make a shot list after you write the script. Note the main talking shot first, then add relevant close-ups or action shots to cover key points. For a coffee tutorial, that could mean a shot of the beans, the pour, and the finished cup. Each extra shot should help explain the line it appears beside.
When you need generated visuals rather than camera footage, Veo Studio is an independent, browser-based AI video creation tool. It can use reference images to help keep a character or product consistent, and supports portrait output at 9:16.
Milestone: Your shot list should say what each clip shows and which frame shape you need.
Step 3: Film or Create Your Clips
Goal: Capture clear footage that supports the story you planned.
Clean the phone lens, steady the device, and record a short test. Keep the microphone close to the person speaking. If you’re using the phone’s built-in mic, move to a quiet room and listen for air vents, traffic, or echo. Good sound is easy to notice when it’s missing.
Film the main message in short takes. Pause between thoughts so you can trim cleanly later. If you stumble, stop, take a breath, and repeat the line. Leave a moment before and after each take; those extra frames give you room to make neat edits.
Use movement with a reason. A slow push toward a product can focus attention. A side view can show how a tool works. Don’t move the camera just to make the clip feel busy. If the shot is clear and still, that may be the stronger choice.
Capture supporting footage that matches what you say. If your script names a detail, show it. This extra footage, often called B-roll, can break up a long talking shot and make an explanation easier to follow. Keep each shot long enough to see the action, but don’t record minutes of material for a short post.
You can also create clips from prompts or reference images. Veo Studio generates video with synchronized sound and dialogue, and its first-and-last-frame controls can guide the motion between two still images. For prompts, describe the subject, setting, action, and camera move in plain language. Add spoken words in quotes when a character should say a line.
For product photos that need motion, the guide to image-to-video AI generators explains how reference images fit into video creation.
Milestone: You should have the main message plus only the extra clips needed to show it.
Step 4: Edit for Pace, Clarity, and Accessibility
Goal: Make the message easy to follow on a small screen.
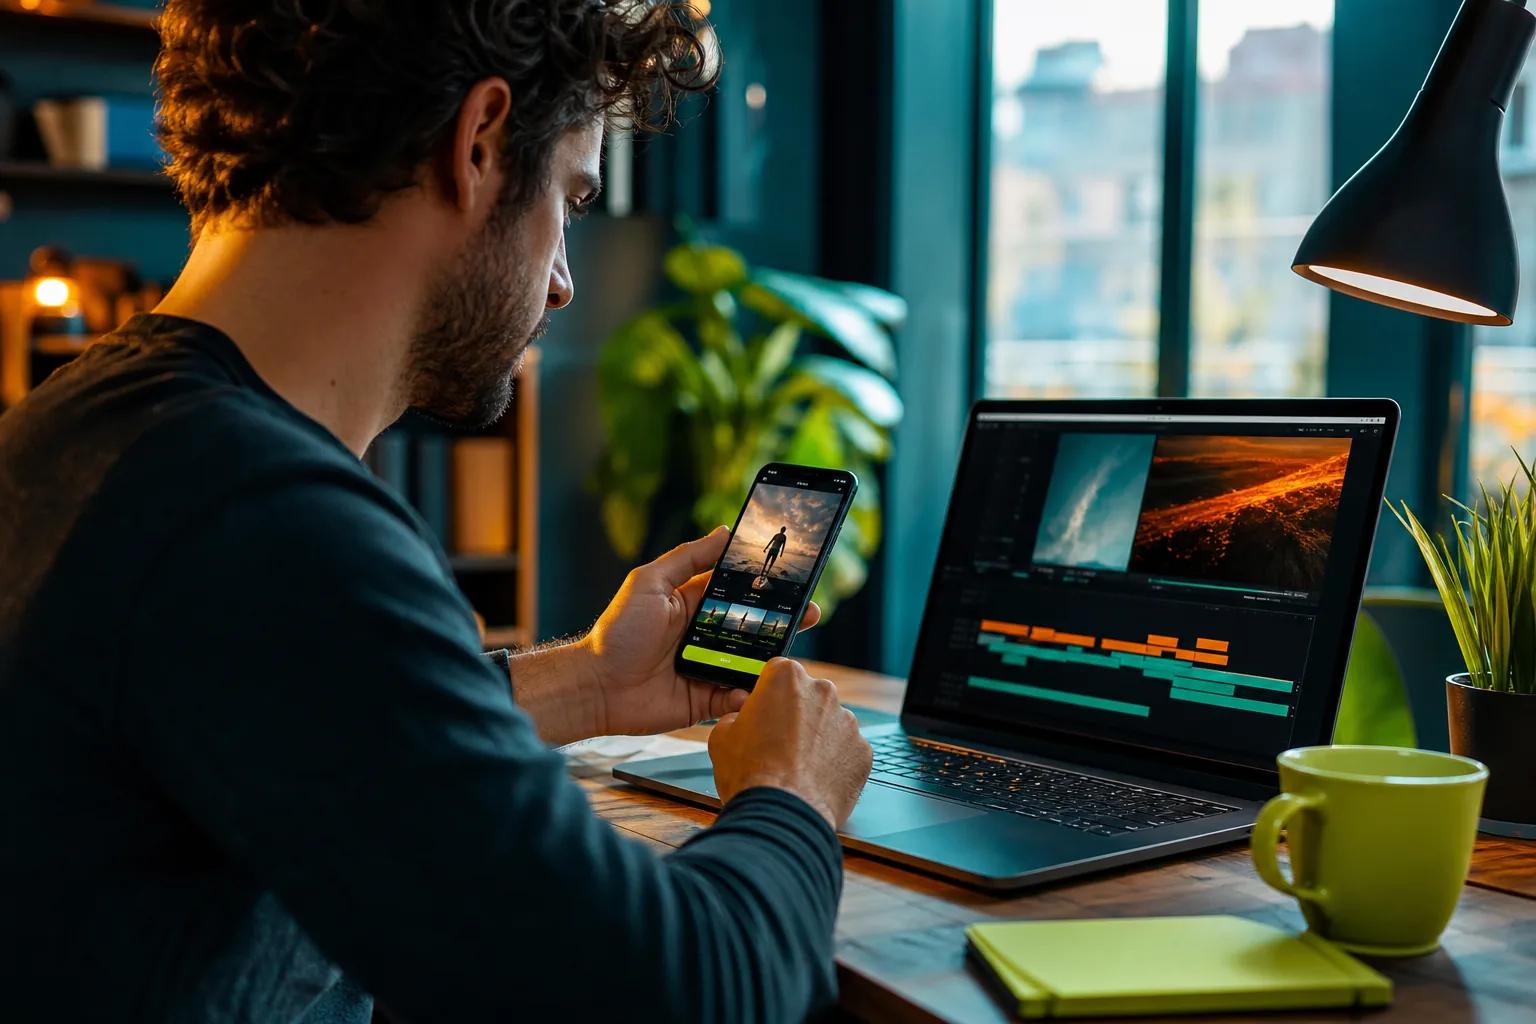
Put your clips in story order. Trim the start and end of each take, remove pauses that slow the point, and cut mistakes. Watch the edit once for meaning before adding effects. If a viewer can’t explain the main idea after one watch, simplify the script or remove a side point.
Change the image when the story needs a new beat. A close-up can show a detail. A cut to a work step can support a spoken instruction. Use transitions sparingly; a clean cut usually keeps attention on the message instead of the edit.
Add captions or subtitles, then check them word by word. Auto captions can save time, but they may mishear names or technical terms. Fix those errors and make sure the text stays on screen long enough to read. Use high contrast and a font size that works on a phone.
Captions help people who watch with sound off, and they also support viewers who need text to follow speech. Don’t place them over a face, a key product detail, or an important action. If the video uses on-screen text to tell the story, keep each line short and leave it visible long enough to read.
Balance music and speech so every spoken word stays clear. If your generated clip already has sound, listen for timing and dialogue before adding another track. Veo Studio can generate synchronized sound with its video, including dialogue with lip movement that matches the spoken line.
Watch the whole edit on your phone before exporting. Look for a cut that feels abrupt, a caption that flashes by, or text that sits under an app control. Fix what blocks the message; skip effects that don’t help the viewer understand it.
Milestone: The final edit should make sense with sound on and remain readable with sound off.
Step 5: Export, Publish, and Encourage Action
Goal: Save a clean file for the platform and make the next action clear.
Export in the same frame shape and frame rate as your footage unless the platform’s current guidance calls for something else. Don’t upscale low-resolution footage and expect it to gain detail. If your source is 1080p, a 1080p export is usually a sensible match. Veo Studio supports output up to 4K on eligible plans, but choose a resolution that suits the source and the place you’ll post it.
Play the exported file from start to finish. Check that the audio starts on time, captions don’t get clipped, and the last frame doesn’t cut off the call to action. Give the file a clear name so you can find the right version when you make edits for another platform.
Write a caption that adds context instead of repeating every line in the video. Use a small set of relevant hashtags if they help describe the topic. For search-led posts, name the subject plainly in the caption and in any title field the platform provides. Don’t add tags that have little to do with the clip.
End with one direct request. Ask viewers to save the tutorial, share their question, or visit the page in your profile. One clear action is easier to follow than a list of requests. If you’re posting the same idea on more than one platform, check the crop and caption for each version before uploading.
Most video tools leave the final upload to you, so treat publishing as its own step. Add the caption, review the cover image where the platform uses one, and confirm the video appears as intended after posting. That last check can catch a crop or caption issue you missed in the editor.
For generated clips, Veo Studio runs in a browser and has a free plan with a couple of 720p Veo videos each month; no card is required to try it. Paid plans start at $14 per month and include higher resolutions, more videos, and a commercial licence.
Milestone: Your post is ready when the file plays cleanly, the caption fits the idea, and viewers know what to do next.
Frequently Asked Questions
What should a social media video include?
A social media video should have one clear idea, a quick opening, and a useful payoff. Show or say what viewers will get in the first few seconds. Then use only the footage needed to make the point. Add captions so the message works without sound, and finish with one action you want viewers to take.
How long should a social media video be?
Make the video only as long as the idea needs. A quick tip may fit in a few seconds, while a short tutorial may need more time to show each action. Cut repeated points and long pauses. Check the platform’s current format guidance, since limits and viewing habits can vary.
What frame rate should I use for social media videos?
Use a frame rate your camera can record well, then keep it consistent during editing and export. A 24 fps setting can suit a natural, film-like look. Higher frame rates may suit smoother motion, but the shot and message matter more than a number. Check your platform’s current export guidance before posting.
Do social media videos need captions?
Captions are a good default because they let viewers follow spoken content without sound and help people who rely on text. Review auto-generated captions for errors, especially names and specialized terms. Keep the text readable on a phone, and place it where it won’t cover a face or key action.
Conclusion
Plan one clear message, film only what supports it, and review the export on a phone before you post. If you want to compare ways to generate clips, explore AI video generators for creators and choose the workflow that fits your next post.