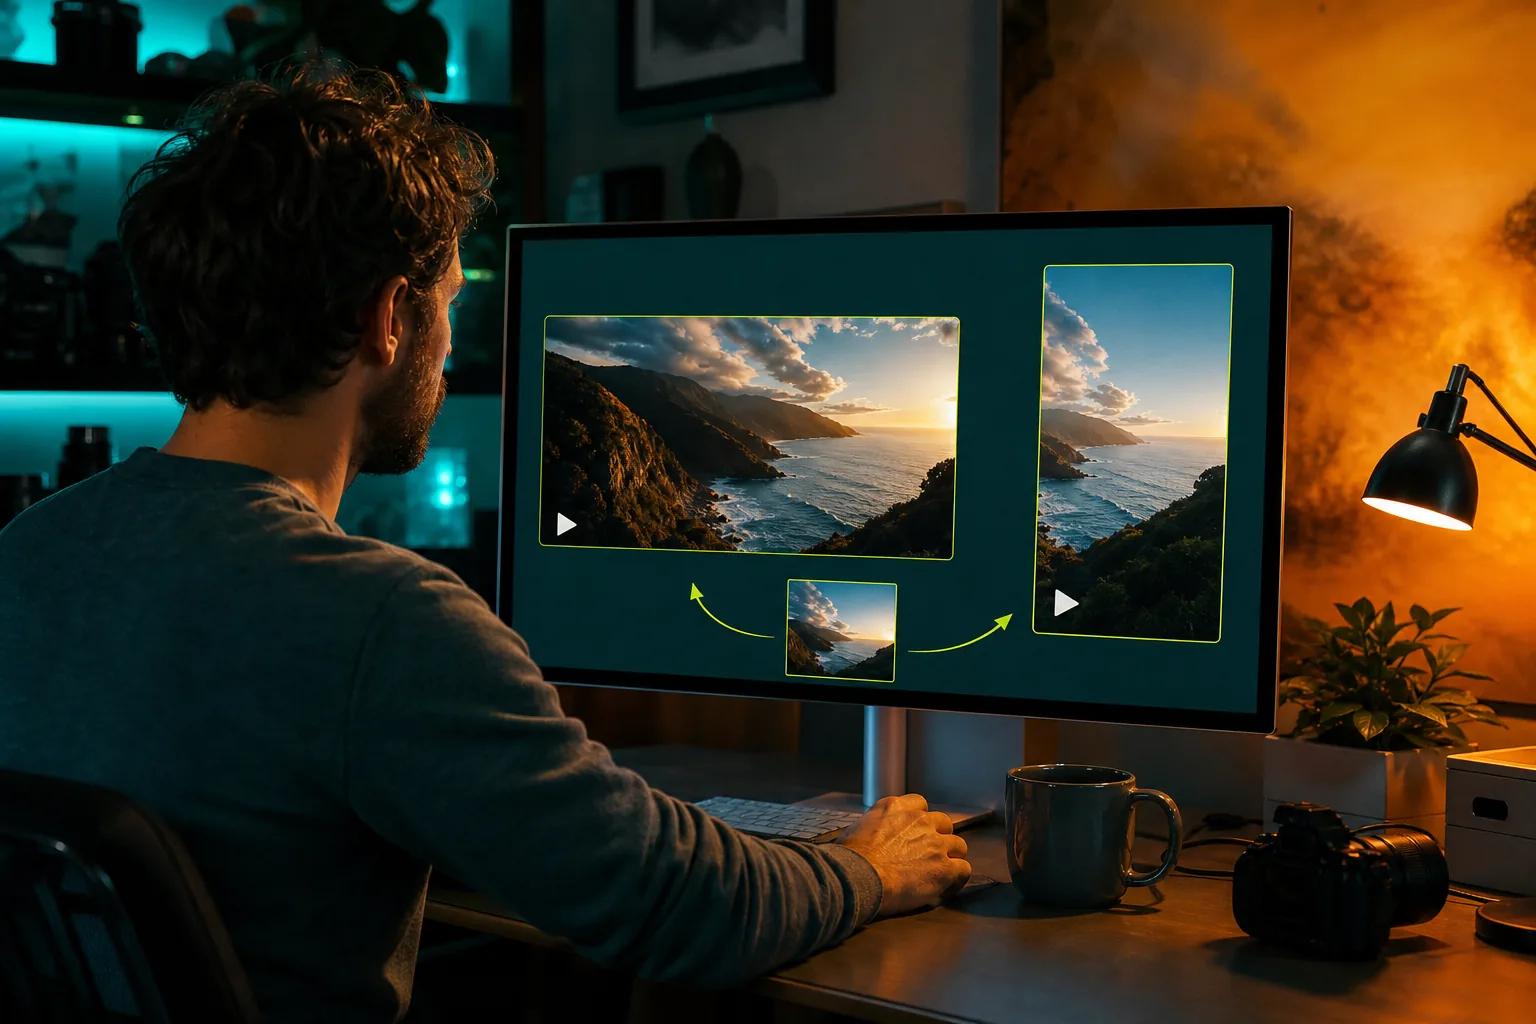
Making YouTube Shorts with AI can cut the busywork, but a quick video still needs a clear idea and a strong opening. Use this repeatable workflow to write a script, build vertical visuals, edit for mobile, then learn from each post.
We analyzed 36 YouTube comments about creating YouTube Shorts with AI and found that 25% mentioned the simplicity of the workflow.
Step 1: Write a Short Script and Plan the Hook
Start with one point you can explain in a few lines. A Short about a product, recipe, or quick lesson gets muddled when it tries to cover a whole topic. Pick one viewer and one useful takeaway before you ask an AI writing tool for a draft.
Try a prompt like this: “Write a 30-second YouTube Short for new home cooks about keeping herbs fresh. Open with a surprising question. Use plain language, one tip, and a final line that invites viewers to try it.” Add your subject, audience, tone, and length. Then ask for several opening lines, not one. Say each out loud and keep the one that makes the topic clear right away.
For a repeatable structure, ask the AI to write a hook, explain the point, then close with a clear next step. Cut greetings and long setups. If a line needs a breath halfway through, shorten it. The script should sound like something you’d say, not like a report read aloud.
Use a proven format as a guide, not a script to copy. You can study how another video opens or builds its point, then make new wording and use your own examples. For help shaping the first line, these YouTube intro ideas focus on openings that fit a channel’s style.
Next, test the hook on a phone screen. Can a viewer tell what the video is about before the second idea arrives? Keep any on-screen text short enough to read at a glance. Plan a cover frame too, even when a viewer first sees the Short in a feed. A clear face, object, or phrase beats a tiny block of text.
By now you should have a short script, a hook that earns its place, and a simple visual plan for each line.
Step 2: Create or Repurpose Vertical Video
Choose the source of your visuals before editing. You can film yourself, repurpose a longer video, use generated clips, or combine those approaches. Set the canvas to vertical, 9:16, so the main subject stays easy to see on a phone.
If you have a podcast or a long lesson, find one complete thought instead of cutting at random intervals. A useful clip has a clear start and finish. Remove the setup viewers don’t need, then add a short opening line if the clip begins mid-conversation. A tool such as Opus Clip is built to find moments in long videos, frame them as vertical clips, and add captions.
For a new scene, describe what the viewer should see, where the camera should move, and what should stay in frame. For example: “Vertical close-up of a baker dusting a loaf with flour, warm morning light, slow camera push-in.” Keep a shot list beside the script. That way, each visual has a job instead of acting as decoration.
Veo Studio is an independent, browser-based AI video creation tool powered by Google’s Veo 3.1 models. You can start with a prompt or add reference images to guide the scene. It supports vertical output, synchronized sound and dialogue, character consistency, first- and last-frame control, scene extension, and up to 4K output. Its free plan includes a couple of 720p videos a month with no card required; paid plans start at $14 per month. See Veo Studio’s video creation features if you want to try a generated clip.
Use a reference image when a character or product needs to look alike across shots. For a planned change in position, first- and last-frame control can guide the transition. Short clips can work as building blocks: edit them together, or extend a scene when the action needs more time. Check that each clip still fits the script once you place it on the timeline.
If you’re deciding between prompt-made footage and a wider range of generation styles, this guide to AI video generators for creators lays out different use cases.

Before you move on, watch the visuals without sound. The story should still make sense, and the subject should stay visible in the vertical frame.
Step 3: Edit for Attention, Captions, and Sound
Now make the edit easy to follow with the sound on or off. Trim pauses that don’t add meaning. Put a new shot where the idea changes, not every time the music hits a beat. A tight cut can help, but frantic edits can make a simple lesson harder to watch.
Generate captions, then check them against the spoken words. AI can mishear names, short terms, and words said over music. Fix each error by hand. Keep captions away from the bottom edge and the right side, where app controls can cover them. Use a font size that stays readable on a small screen.
Give each caption a small chunk of speech instead of showing a full paragraph at once. Keep line breaks natural. If you add emphasis, highlight only the key word or phrase. This helps the text support the voice rather than compete with it.
Choose sound that suits the clip. You can use a clean voice track, a quiet music bed, or sound effects tied to an action. Veo Studio can generate sound and dialogue with its video, which may help when a scene needs spoken lines or matching ambient sound. Listen to the full export on headphones, then check the mix through a phone speaker. Speech should remain clear.
Captions also help viewers who watch with sound off, but they aren’t a reason to skip a final review. Look for misspelled words and fast lines that disappear before someone can read them. If you make a version in another language, have someone fluent check the captions and meaning before it goes live.
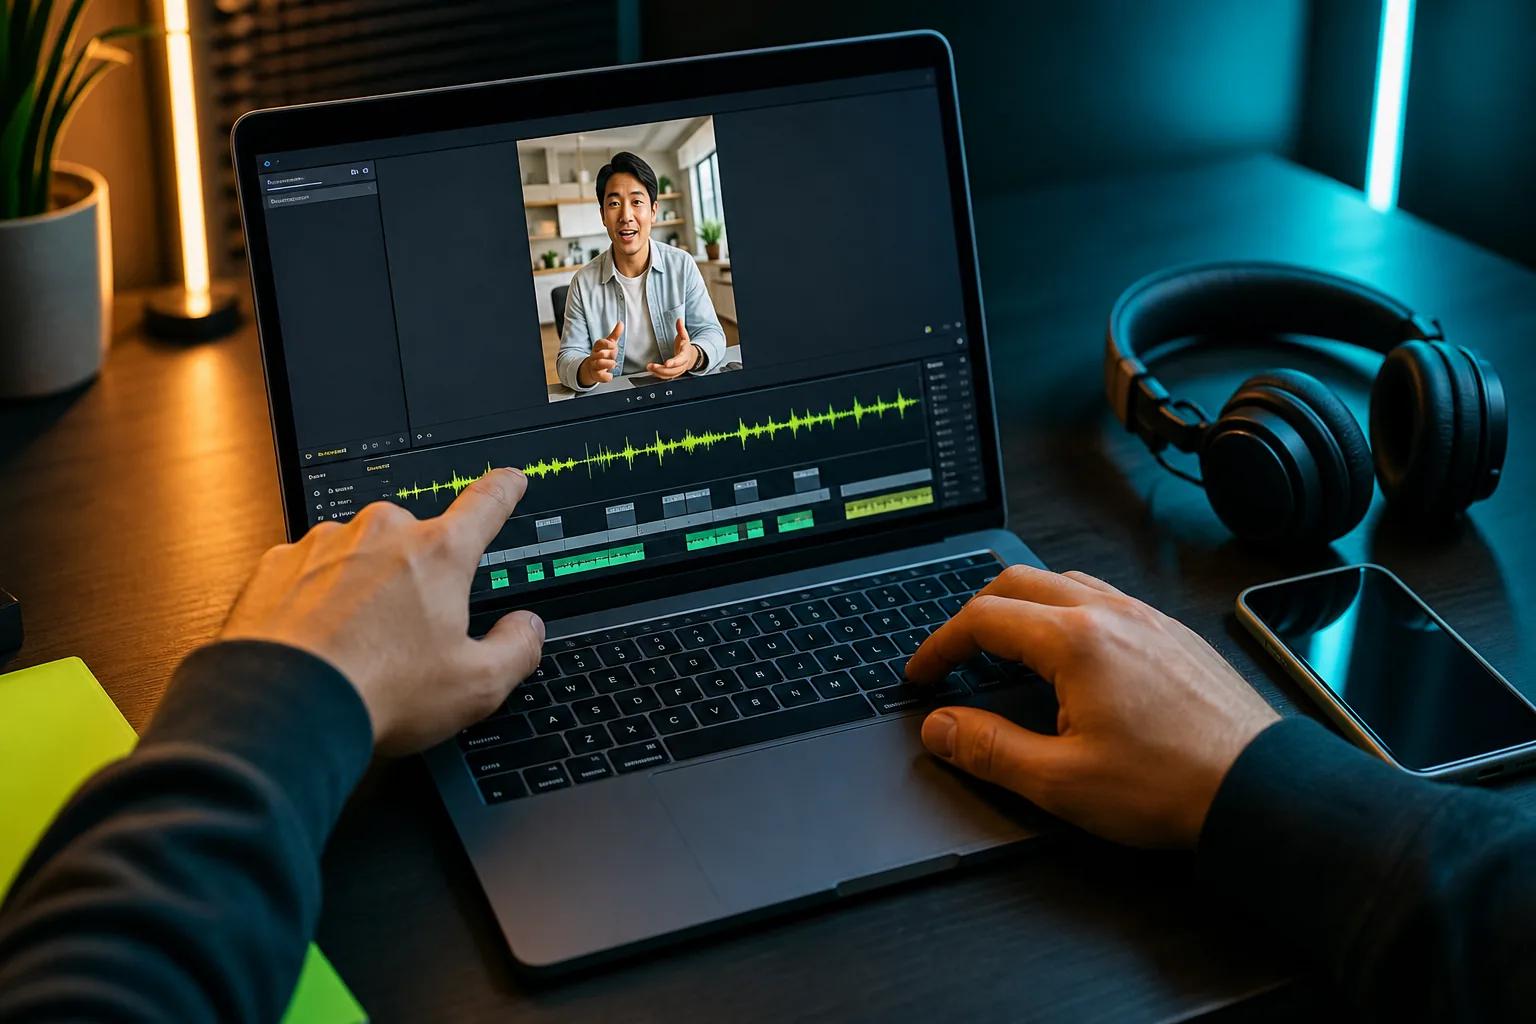
Run one last pass with the image and sound together. Check for a cut that interrupts a word, a caption that blocks the action, or a music cue that buries the voice. The final version should feel clear, not overworked.
Step 4: Batch, Publish, and Improve Your Shorts
Batch work by task to save time. Draft several hooks in one sitting, then write scripts for the strongest ideas. Plan the shots as a group. After that, edit and caption each Short. A simple tracking sheet can hold the working title, script status, footage, edit status, publish date, and the question each video is meant to answer.
Batching doesn’t mean posting the same clip with a new title. Give each video one distinct point. For example, a cooking channel might make separate Shorts on storing herbs, washing them, and using leftover stems. The same shoot can supply footage, but each clip should make sense on its own.
Before you publish, check the first frame, title, captions, sound, and audience setting. Make sure the crop keeps faces and key objects in view. If AI made a scene that could be mistaken for real footage, review YouTube’s current disclosure rules and follow the on-screen publishing guidance.
Use material you have the right to use. That includes footage, music, photos, and voices. An AI tool’s ability to generate something doesn’t by itself settle the rights to a reference image or a copied script. Keep notes on the source of any material you add.
After posting, review the viewer and retention data available for the Short. Look at how often viewers watched instead of swiping away, how long they stayed, and where the audience dropped off. Treat each signal as a clue, not a verdict. If viewers leave during the setup, test a shorter opening next time. If they stay through the tip but leave at the end, trim the closing line.
Try one change per new batch. You might test a different hook while keeping the topic and visual style similar. That makes it easier to tell what changed the response. Avoid calling a format a winner after one post; repeat it with another idea before you make it part of your routine.
Scheduling can make a batch easier to manage. Use YouTube’s own scheduling controls when they suit your workflow. If you rely on a separate service, check what account access it needs and review the scheduled upload before it goes live. Automation can handle the handoff, but you still own the final check.
For clips that need a longer visual beat, the guide to extending a video with AI explains how to carry a scene forward and review the result.
FAQ
Can AI make a YouTube Short from a script?
Yes, AI tools can turn a script into a Short by helping generate visuals, voiceover, or captions. The exact steps depend on the tool. Review the result before posting, especially the opening, spoken words, and any captions. AI output is a first draft, so edit it to match your voice and make sure each shot supports the script.
How long should a YouTube Short script be?
Write only as much as the idea needs. For a quick tip, start with a short script that can be spoken at a calm pace, then time yourself reading it aloud. Cut any line that repeats the point. The finished clip should leave enough time for viewers to understand the tip without rushing through every word.
Can I turn a podcast into YouTube Shorts with AI?
Yes. AI clipping tools can help find possible highlights in a longer recording and reframe them for vertical viewing. Choose moments that make sense on their own, then check the crop and captions. Add a brief setup if the selected clip starts without enough context for a new viewer.
Do AI-generated Shorts need captions?
Captions are useful for viewers who watch without sound and for people who need text to follow speech. Generate them with an editing tool, but check every line against the audio. Correct names and misheard words, then make sure captions stay clear of the screen edges and important action.
How do I know if my Short is working?
Review the available viewer and retention data in your channel's performance dashboard. Check whether people watch or swipe away, how long they stay, and where they stop. Use those patterns to choose one thing to test in the next Short. A single post can offer a clue, but it doesn’t prove that a format will work every time.
Conclusion
Keep the workflow simple: write one clear idea, choose visuals that serve it, and check the finished Short on a phone. Start with one clip this week, then use its viewer response to guide your next batch.