You can make a video without a camera, crew, or long edit session. This guide to how to create AI videos takes you from a clear idea to a reviewed, platform-ready clip, with steps for prompts, reference images, sound, and publishing.
We analyzed 48 comments from Reddit and YouTube about creating AI videos and found that 33% mentioned varying tool capabilities.
Start with the viewer and the action you want them to take. Then build one short scene at a time.
Step 1: Set Your Video Goal and Choose an AI Video Tool
Pick the job before you pick the model. A six-second product reveal needs different controls from a lesson with a presenter or a short story with dialogue. Write down who will watch, where they’ll see it, and what they should understand or do next.
AI video generation turns text, images, or both into moving footage. Some tools focus on presenter-led clips, while others generate visual scenes from prompts. Veo Studio is an independent, browser-based AI video creation tool powered by Google’s Veo 3.1 models. It can make clips with synchronized sound and dialogue, and it supports reference images, frame control, scene extension, and up to 4K output.
Compare tools by the task in front of you, not by a long feature list. Use this table to set your priorities before you begin:
| Your video job | What to check | Useful choice |
|---|---|---|
| Vertical social clip | Can you set a portrait frame before generation? | Choose a tool with 9:16 output so the subject is composed for a phone screen. |
| Product spot | Can you add a product image as a reference? | Use image-to-video when the item must look like the item you sell. |
| Dialogue-driven scene | Does speech come with the generated picture? | Choose a model with synchronized dialogue, then check the spoken line and mouth movement. |
| Longer continuous scene | Can the clip continue from its last frame? | Look for scene extension if motion and characters must carry on across clips. |
| Fine visual control | Can you set the opening and ending frames? | Use first/last-frame control when a transition must land on a planned image. |
Veo Studio runs in a browser, so you don’t need to install an app to try it. Its free plan includes a couple of 720p videos a month, with no card required. Paid plans start at $14 per month and include higher resolutions and a commercial licence. Check the Veo Studio video generator if you want to see how its available generation controls fit your project.
Before signing up, decide what a usable first draft means. It could be a clear product shot, a line delivered in sync, or a scene that fits a vertical feed. That target will help you judge the output instead of chasing a vague idea of “polished.”
Step 2: Sign Up and Prepare Your Script, Images, and Brand Assets
Gather the material the model needs before you open the prompt box. For a product clip, choose a clean photo that shows the item clearly. For a character scene, use a reference image that matches the look you want to keep. For a lesson, write the main teaching point and the words a speaker must say.
Keep the first pass lean. A short script or shot list is easier to turn into scenes than a page of copy. Mark the one action each shot should show. If your brand uses a specific color or logo, prepare the asset for the editing stage too; don’t assume a video model will place exact lettering correctly.
Veo Studio supports up to three reference images for supported generations. They can guide a character, product, or visual style. You can also provide a first and last frame to shape the motion between two still images. A reference gives the model a visual target, but you still need to inspect the result for changes in shape, color, or small details.
Think through access and output needs now. Veo Studio uses passwordless sign-in with a Google sign-in option or an email magic link. The free plan is limited to 720p; higher resolutions require a paid plan. If you expect to publish a business video, check the plan’s commercial licence and the tool’s terms before you start.
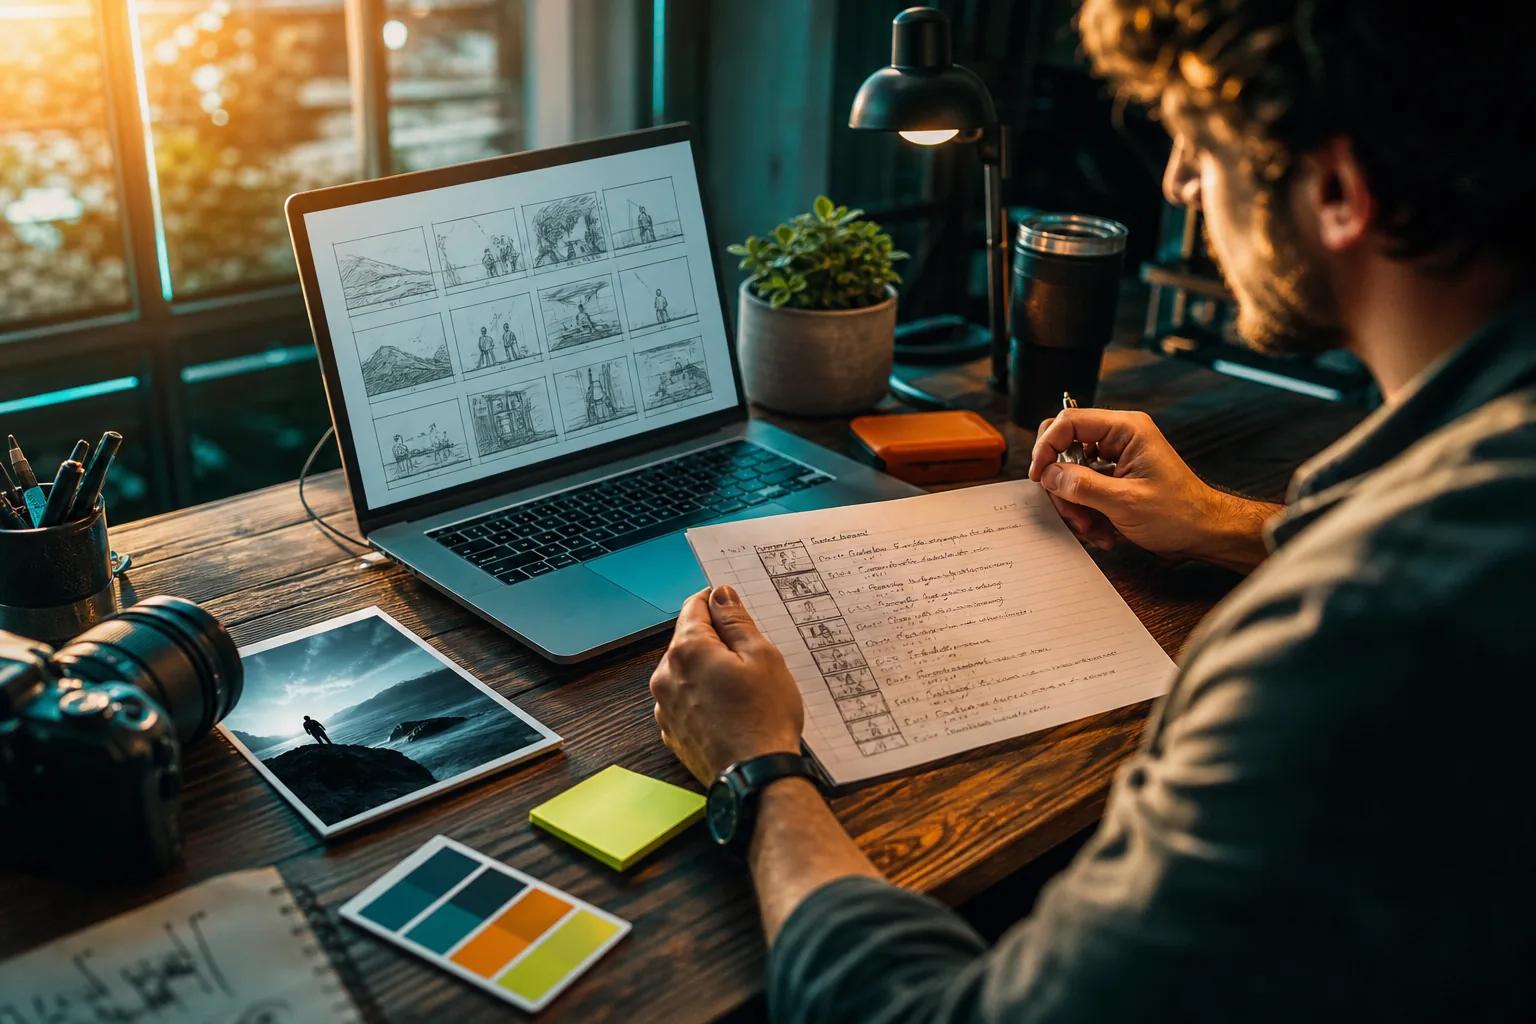
Set up a simple folder for the project. Keep the approved script, source images, generated clips, and final export separate. This makes it easier to find the original image later and gives a teammate a clear handoff if they need to review the work.
By now you should have one defined audience, the source assets you can use, and a short note about the result you need. That’s enough to write a focused prompt.
Step 3: Write a Script and Prompt That Give the Model Clear Direction
A useful prompt describes a shot the model can show. Name the main subject, the action, the setting, and the camera move. Add light or mood only when it helps the viewer read the scene. If you load a paragraph of mixed ideas into one prompt, the model has to guess which detail matters most.
Try this structure: “A [subject] [action] in [setting]. The camera [movement]. [Light or mood]. [Sound or spoken line].” For a small business, that could be: “A ceramic cup turns slowly on a wooden counter in morning window light. The camera makes a gentle close move. Soft room tone, no speech.” It gives the model one clear action and a defined setting.
For dialogue, write the exact words you want spoken and put them in quotation marks. Keep the line short enough to fit the clip. A spoken line should sound like something a person would say aloud, not a slogan packed with several claims. Then listen to the sound and inspect the character’s mouth movement before you use the clip.
Write the script as shots, not as a block of narration. For example, a product ad might use a close product view first, then a person using it, then a final shot that leaves room for a call to action added during editing. Each generated clip can cover one scene. This gives you more control than asking for a full ad in one prompt.
Veo Studio accepts plain-language camera direction, such as a wide view or a dolly-in. For a repeated person or item, attach reference images and make their role clear in the prompt. For a planned transition, give the first and last frames rather than relying on a broad description alone.
Leave out instructions that fight each other. “Locked camera” and “fast sweeping pan” describe different movement. If a detail is essential, say so plainly. If it is decorative, remove it until the main action works.
By now you should have a prompt that names one subject, one main action, and the camera’s role. You can add style after that base is clear.
Step 4: Generate a First Draft and Check the Results
Generate a draft at the lowest output setting that lets you judge the idea. The first pass is a test, not a final deliverable. Watch the full clip once without stopping, then replay it with a short checklist: does the main action read, does the framing work, and does the sound fit the scene?
In Veo Studio, choose the video output, then set the aspect ratio and duration. Video generations can be 4, 6, or 8 seconds; 1080p, 4K, and reference-image generations require an 8-second clip. The credit cost appears on the Generate button before you start. Higher than 720p output requires a paid plan.
Make one change at a time when a result misses the mark. If the subject is right but the motion is wrong, adjust the action or camera direction. If the shot looks right but the sound feels off, rewrite only the sound instruction. Changing several parts together makes it harder to tell which prompt edit helped.
Look for common visual errors at normal playback size and on the device where people will watch. Check the product shape and label. Check hands and faces. Notice whether a person, item, or clothing changes during the clip. A frame that looks fine when paused can still feel odd in motion.
For spoken scenes, review the exact words as well as their timing. Listen once with headphones if the dialogue matters. Then watch with the sound off to make sure the visual story still makes sense. That simple two-pass check catches a confusing image before you spend time polishing it.
When a clip nearly works, improve the prompt before you rebuild the whole idea. When it misses the core action, simplify the scene and generate a cleaner test.
Step 5: Refine Scenes, Sound, Dialogue, and Character Consistency
Refine the parts viewers will notice first. Fix the subject’s movement before you tune a background detail. Keep the prompt focused on one change per new generation. A clear note such as “the camera stays still while the bottle turns” gives the model less room to misread your intent.
When the same character or product must appear more than once, reuse the same reference images. Describe what should stay the same, such as the person’s clothing or the item’s color. Then state what changes in the shot. This separation helps keep identity details steady while the scene moves forward.
Veo Studio can generate synchronized sound with the image, including dialogue and sound effects. Use a quoted line for speech and describe any background sound in plain words. For example, ask for a quiet indoor room tone rather than a vague “cinematic soundscape.” If the generated audio competes with the words, adjust the prompt or replace the track during editing.
For a transition between two specific images, first/last-frame control can guide the opening and ending. It’s useful for a reveal, a change in pose, or a move from a plain scene to a finished one. The model creates the motion between the two frames, so review the transition for unwanted jumps or changes in the subject.
If you want a longer continuous scene, Veo 3.1 and Veo 3.1 Fast clips at 720p can be extended in seven-second steps. Extension is available for 48 hours after generation, up to roughly 148 seconds. Treat each extension as another shot to review. Check whether the camera, character, action, and sound still match the scene you want.
Here’s a simple decision rule: regenerate when the core shot is wrong; extend when the scene is right and needs more time. If a clip is good except for one sound or caption, finish that part in your editor instead of asking the model to redo the whole scene.
[VIDEO]
By now you should have a small set of clips with matching references and a clear purpose for each. Put them in story order before you start the final edit.
Step 6: Edit for Your Platform and Add Captions or Branding
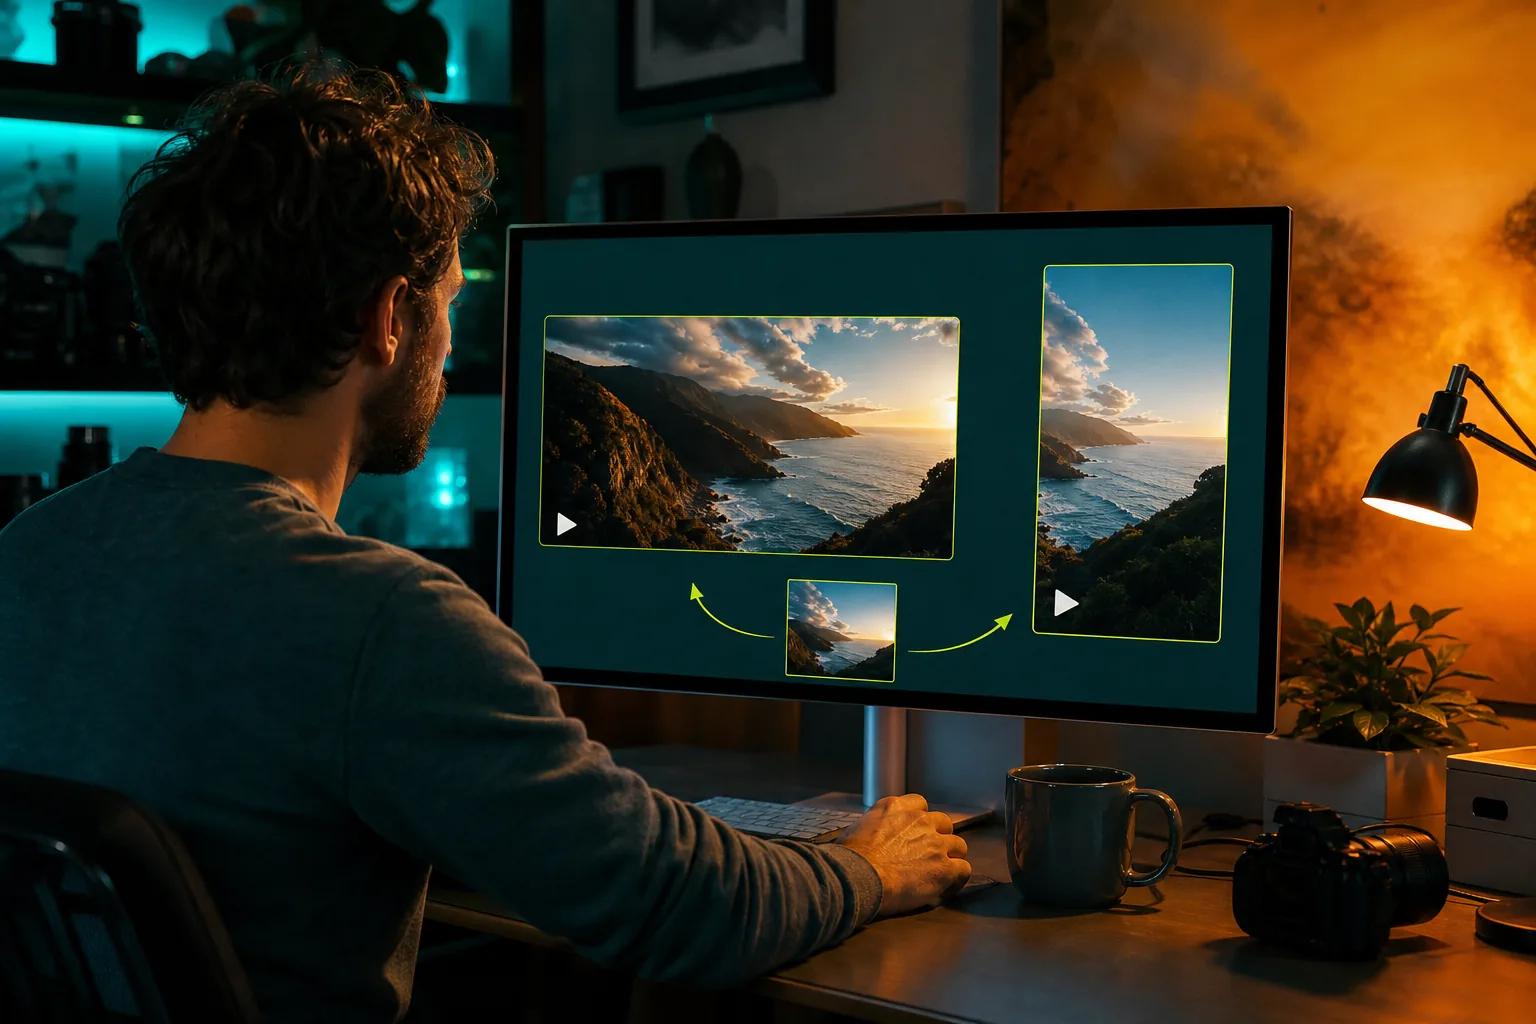
Build the edit around the place the video will appear. A vertical clip for TikTok, Reels, or YouTube Shorts uses a different frame from a widescreen lesson or web video. Choose the aspect ratio before generation when you can. Cropping a wide shot later may cut off the subject or leave too little room for captions.
Arrange clips so each shot moves the viewer forward. Cut a pause if it adds nothing. Put the clearest view of the subject early, especially in a short social post. If the piece has dialogue, leave enough time for a person to hear the line without racing through the captions.
Add captions in your editing tool and check them against the audio. Correct names and key terms by hand. Keep captions away from important details near the edge of the frame, where app controls may cover them. A quick review on a phone can show whether the text is large enough to read.
Add a logo or brand color as an edit layer when exact placement matters. AI-generated lettering can be unreliable, so don’t use a generated label as the final source for a product name, price, or legal note. Check any on-screen claim against the approved copy before export.
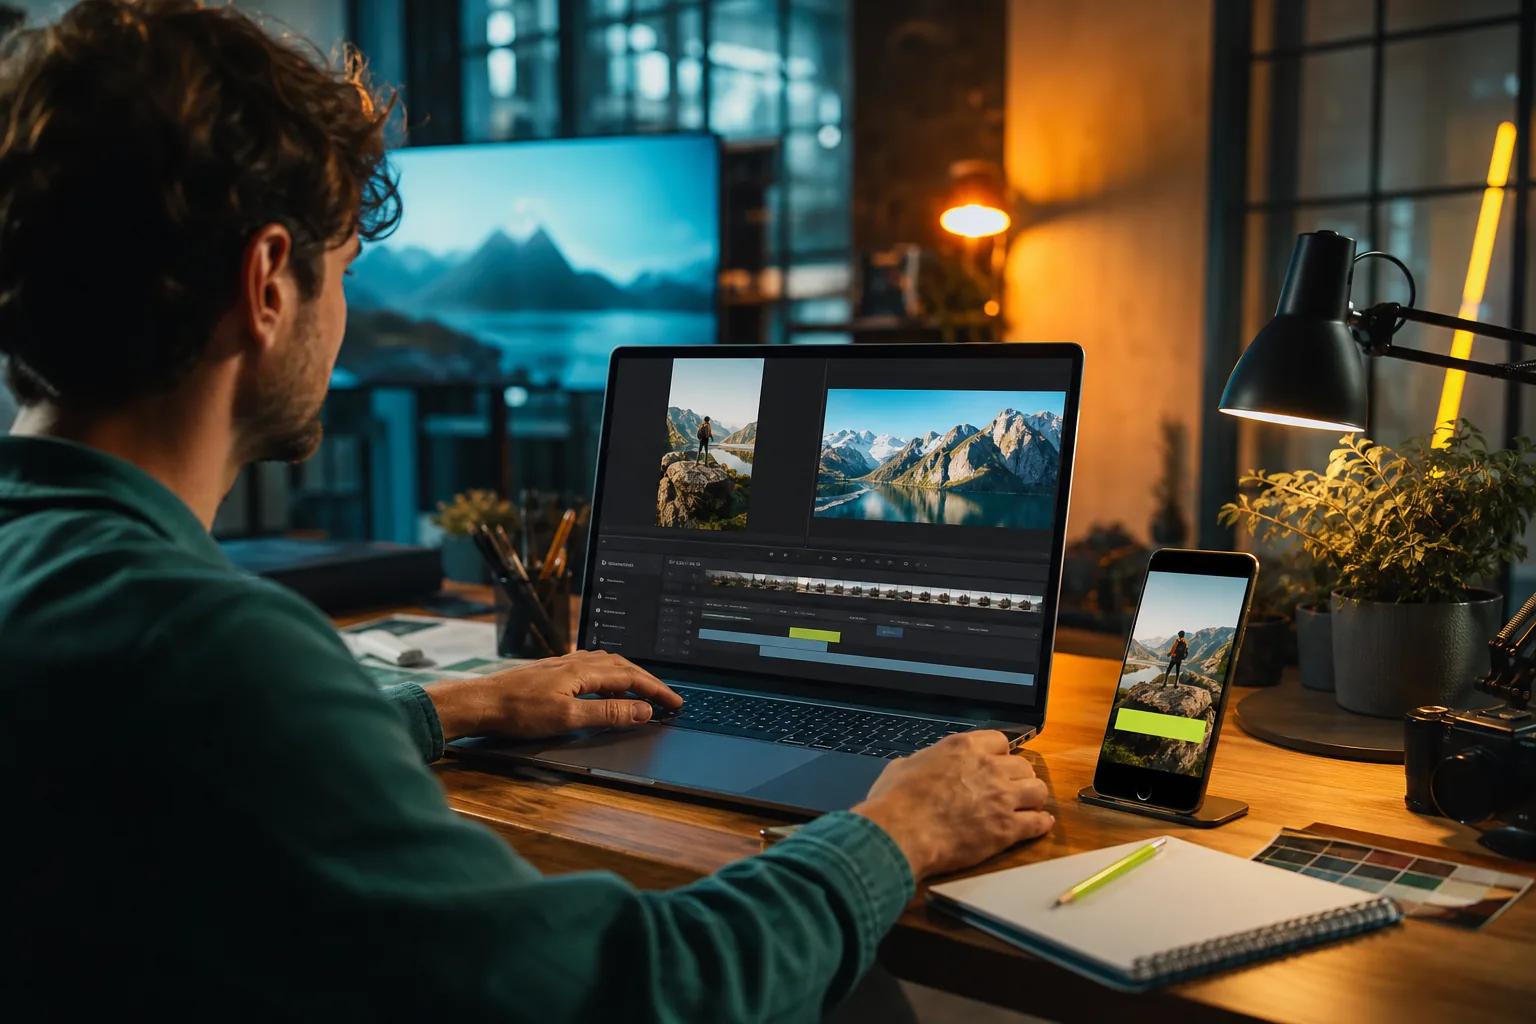
Export a version that matches the platform’s requested format, then watch that exact file from start to finish. Check the opening frame, the last frame, audio level, caption timing, and any logo. If a team member needs to approve it, share the export rather than asking them to judge from a draft preview.
By now you should have a final cut that fits its destination and can be checked as a complete piece, not as a set of separate generated clips.
Step 7: Review Rights, Publish, and Learn From Performance
Before publishing, confirm that you can use every input. That includes music, photos, logos, and a person’s likeness or voice. Get consent when a real person is identifiable, and don’t make a synthetic clip that could mislead viewers about what someone said or did. Keep a record of approved assets and the final prompt for your project.
Check the terms of the tool and the rules of the platform where you plan to post. Veo Studio’s plans include a commercial licence, and its terms set conditions for generated content. A licence doesn’t replace permission for a photo, song, logo, or person you supplied. For plan details, see Veo Studio pricing and plan information.
Use a final review before you schedule or upload. Check that the first seconds show what the post is about. Make sure captions match the audio. Confirm that the call to action is accurate and that the clip has the right aspect ratio. If a post uses a synthetic person or scene in a way that might confuse viewers, label it clearly where appropriate.
After publishing, judge the result against the goal you set in Step 1. For a product post, check whether viewers watched far enough to see the product detail. For a lesson, check whether the key point is easy to follow. For a social clip, look at the response that matters to your goal, such as views or clicks, rather than changing everything based on one comment.
Save what you learn. Note which opening shot held attention, which prompt detail made the subject behave as intended, and where viewers dropped off if that information is available. Change one part in the next version. Small tests make it easier to see what improved the video.
If you’re still choosing a workflow, Veo Studio’s free plan gives you a way to test a couple of 720p videos a month without a card. Use that first run to check fit and prompt quality before planning a larger batch.
By now you should have a published clip and one useful note for the next edit. That’s a repeatable process, not a one-off prompt trick.
FAQ
How do you make an AI video from a prompt?
Write a prompt that names the subject, its action, the setting, and the camera direction. Choose an aspect ratio and duration, then generate a draft. Watch the result for visual errors and sound issues. Make one prompt change at a time, and use an editor for final captions or branding.
Can I make AI videos for free?
Yes, some tools have free plans or trials, though the limits vary. Veo Studio’s free plan includes a couple of 720p videos each month and doesn’t require a card. Check the plan terms before using a clip commercially, and confirm that the available resolution fits your publishing needs.
Can AI video tools make videos from images?
Yes, some tools accept a reference image or use a still as the basis for a generated clip. This can help guide the look of a product or character. The output may still change small details, so compare the finished video with your source image before publishing.
How long should an AI-generated video be?
Make it only as long as the idea needs. A short social post may work as a few brief shots, while a lesson may need more time for a clear explanation. Some video models generate short clips that you can edit together or extend. Review pacing before adding length.
Can I use AI-generated videos for business?
Often, but check the tool’s licence and terms before you publish. You also need rights or permission for any images, music, logos, and identifiable people you supply. Review the final clip for false claims or misleading scenes, especially when it represents a product, service, or real person.
Conclusion
Start with one clear scene and a prompt that tells the model what to show. Generate a draft, review it carefully, and edit for the place it will appear. For this workflow, Veo Studio offers synchronized sound and dialogue, character consistency, first/last-frame control, scene extension, and up to 4K output in a browser-based tool powered by Google’s Veo 3.1 models.