A still photo can become a short moving scene, complete with camera motion and sound. If you're learning how to turn a photo into a video, start with one clear image and a specific idea for what should move.
Then choose the right format, guide the action with a prompt, review the draft, and export a clip that fits where you plan to post it.
Step 1: Choose Your Goal, Photo-to-Video Tool, and Format
Pick the result before you pick settings. A product ad needs the item to stay recognizable. A social clip may need a vertical frame and a quick visual hook. A character scene might need dialogue or a steady look across shots.
Photo-to-video tools use a still image as a visual starting point, then generate new frames based on your prompt. In video, the model estimates how the scene could change over time rather than simply moving every pixel in the same way.
For an independent, browser-based option powered by Google's Veo 3.1 models, Veo Studio accepts prompts and reference images. It can generate synchronized sound and dialogue, keep a character consistent, control the first and last frame, extend a scene, and produce output up to 4K. Veo Studio is independent, not Google or a Google-owned service. Its free plan includes a couple of 720p videos each month without a card; paid plans start at $14 per month.
| Your goal | Starting format | What to check before generating |
|---|---|---|
| Product spot | Landscape for a site or ad; portrait for short-form social | Does the item stay clear as the camera moves? |
| Social post | Portrait, usually 9:16 | Can the main action fit on a phone screen? |
| Dialogue scene | Portrait or landscape, based on the final channel | Can the tool create spoken lines with matching lip movement? |
| Longer story beat | Choose the aspect ratio before making the first clip | Can you guide the start and end frames or extend the scene? |
For Veo Studio, 16:9 suits a wide frame and 9:16 suits a vertical social clip. Higher than 720p requires a paid plan, and 1080p or 4K generations require an 8-second clip. Pick a short test first if you need to check the look before spending more credits.
Step 2: Prepare and Upload a Clear Photo
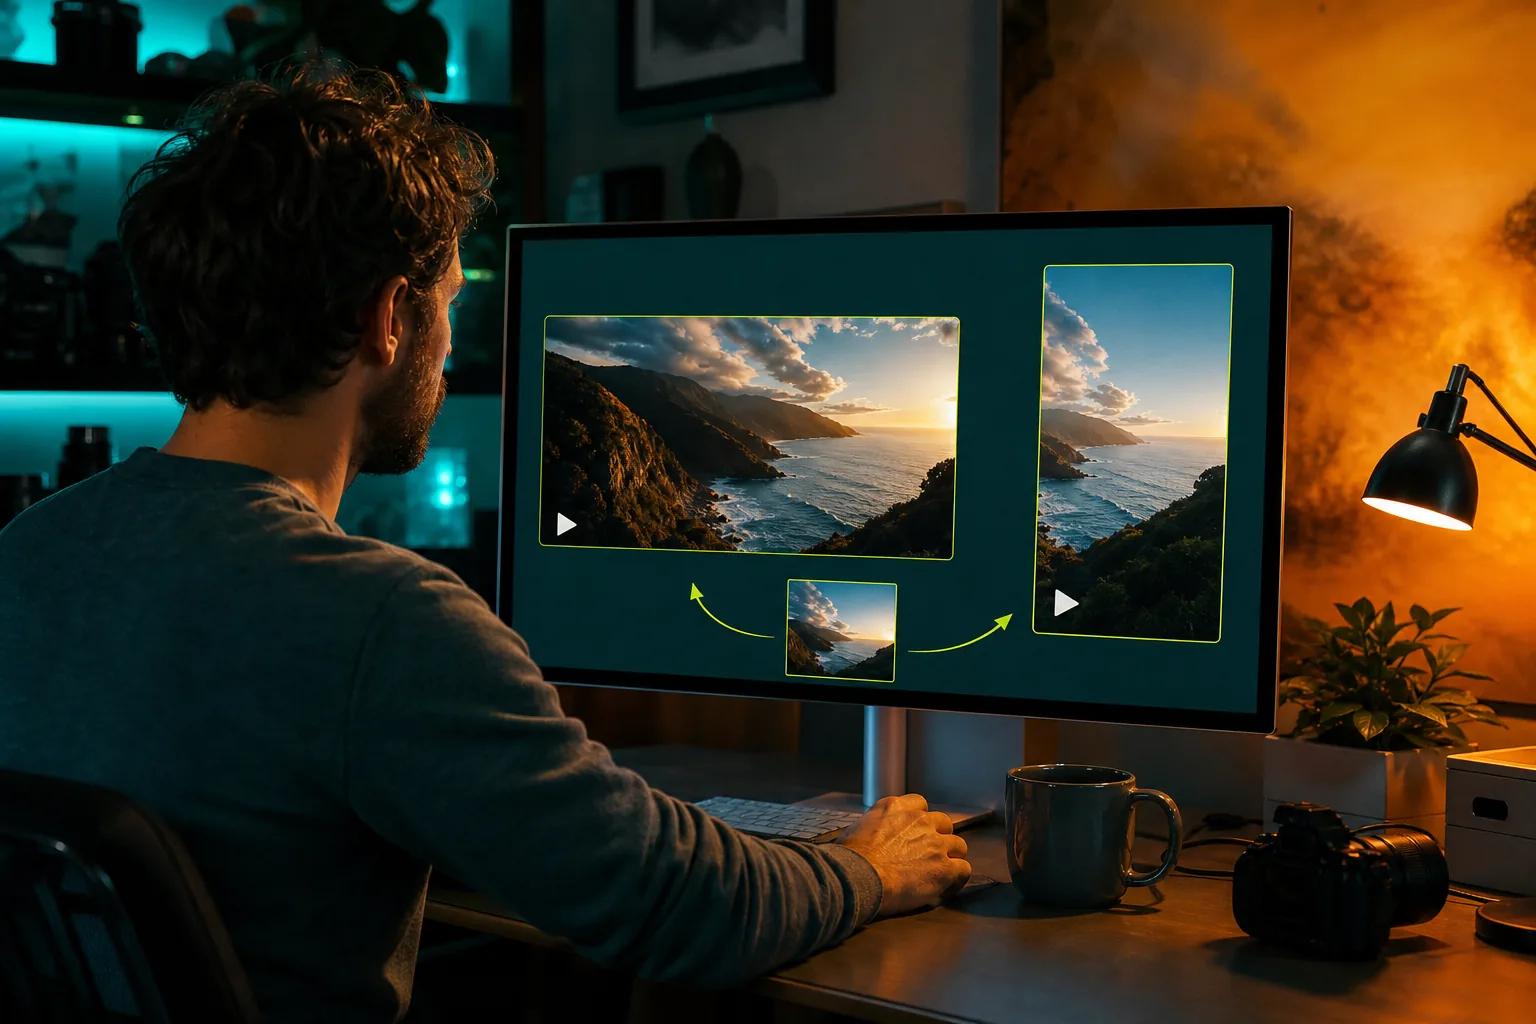
Choose a photo where the subject is easy to see. A sharp portrait with the face in view gives the model a better visual cue than a small face lost in a busy crowd. For a product, make sure its shape and key details are not hidden by glare or clutter.
Crop with the final frame in mind. A wide photo may need to be reframed for a vertical clip, and a tight crop can leave little room for a camera move. Aspect ratio describes the relationship between an image's width and height. Leave breathing room around the subject when you expect the scene to push in or shift.
Before uploading, check that you have the right to use the image. If it shows another person, get permission when appropriate, especially for a public or paid campaign. Avoid sensitive images and personal details that don't belong in the final video. Review the tool's privacy terms and its rules for handling uploads before sending a photo to an online service.
Browser-based tools can be handy when you're working from a laptop or desktop because you can upload from your files without installing an editing app. A phone may still be the fastest place to pick a selfie or product shot, but check that the web tool's controls work well on your screen. If the photo lives in a shared folder, save a copy first so you know which original you used.
In Veo Studio, upload a reference image in the prompt composer. For supported generations, you can attach up to three reference images to guide a character, product, or visual style. If you want the clip to move between two known stills, use first-and-last-frame control instead of treating both images as general references.
By now, you should have one clear image, a planned crop, and permission to use it.
Step 3: Describe the Motion and Set the Scene
Give the model one main action to show. A photo already sets the starting look, so your prompt should explain what happens next. For example: “The ceramic mug turns slowly toward the window. Morning light catches the rim. The camera moves in for a close-up.”
That prompt gives the model a subject, an action, a light cue, and a camera move. You can also say what should stay still: “Keep the label facing the camera.” Be specific about the motion you need. “Make it cinematic” leaves more room for guesswork than “slow push-in, steady camera, soft side light.”
Think of image animation as a model making a sequence of likely changes from the still image and your directions. Modern video models generate frames that fit the prompt and the visual input. The exact method varies by model, so you don't need to name technical model types in your prompt. Use plain film language instead: wide shot, dolly-in, gentle pan, or close-up.
Veo Studio supports first- and last-frame control. Uploading both gives the model two visual endpoints to connect, which can help when you need a defined transition. For a scene with speech, put the spoken line in quotation marks and describe who says it. For example: “The baker looks at the camera and says, ‘Fresh from the oven.’”
Keep the first prompt short. If the action, camera, lighting, and mood all compete, remove details until the main movement reads clearly. You can add one instruction after reviewing the first result. For a deeper look at the model and its image-to-video workflow, see the Veo model and video generation overview.
By now, you should have a prompt that describes a visible action, not a list of vague moods. That makes it easier to judge the draft.
Step 4: Add Dialogue or Audio, Generate, and Review a Draft
Decide whether the image needs speech, music, or only natural sound. A product turning on a table may need a soft mechanical sound. A short character scene may need one spoken line. Social clips often work better when the sound supports the action instead of distracting from it.
When dialogue matters, keep the line brief and write it exactly as you want it spoken. Describe the speaker and the moment they speak. Then watch the mouth movement closely. Synchronized audio and dialogue are useful, but a generated draft still needs a human check for timing, tone, and the right words.
Veo Studio generates sound with the video, including music, effects, or dialogue when requested. Its 4-, 6-, and 8-second clip lengths make it sensible to test a short scene before planning a larger edit. The free plan can help you try the workflow at 720p; paid plans add higher resolutions and more video volume.
When you generate, treat the first render as a draft, not a finished ad. Check four things: does the subject look like the source, does the motion make sense, does the camera move as asked, and does the audio fit? If the face changes or the product bends, simplify the prompt and make the movement smaller.
If dialogue is off, reduce the spoken line and remove extra scene directions from the same sentence. If the sound feels wrong, state the sound plainly, such as “quiet room tone” or “one soft bell chime.” Don't ask the model to fit a long script into a few seconds. A tight line is easier to review and can leave room for the image to read.
Save a draft you can compare against later. In Veo Studio, finished generations go to the media gallery, where you can review and download them. By now, you should have a usable draft or a clear change to make on the next pass.
Step 5: Polish, Troubleshoot, Export, and Publish
Review the clip once for the picture and again for sound. Watch the edges of the frame, the subject's face, and any small product details. A soft or warped area may come from a complicated action, a tight crop, or a source image that lacks detail. Try a cleaner photo or ask for a slower, simpler move.
For mismatched lip-sync, shorten the line and make the speaker easy to identify in the prompt. If the generated words or pronunciation aren't right, don't assume a new export will fix it. Revise the spoken text, generate another draft, and listen with headphones before publishing.
Post-generation edits should solve a clear problem. Add a text overlay when viewers need a name or offer. Use a music track only if it helps the scene; if the generated audio already works, extra music can muddy dialogue. A short fade can soften the start or finish, while a cut can remove a weak moment without asking the model to remake the entire clip.
Export for the place the video will appear. A portrait clip fits TikTok, Reels, or YouTube Shorts. A landscape clip can suit a site or a wider video placement. Watch the finished file on a phone before posting, since small text and subtle motion can look different on a small screen. Check captions and spelling in the final edit.
Veo Studio supports output up to 4K, along with scene extension for supported Veo 3.1 clips. Extension adds seven seconds per step and can lengthen a 720p clip to roughly 148 seconds. Higher resolution can help when you need a larger final frame, but it won't repair a weak source photo or a confusing prompt.
Before you publish, check the image rights and the platform's upload requirements. Veo Studio says its plans include a commercial licence; still, confirm that your source image and any added music are cleared for your intended use.
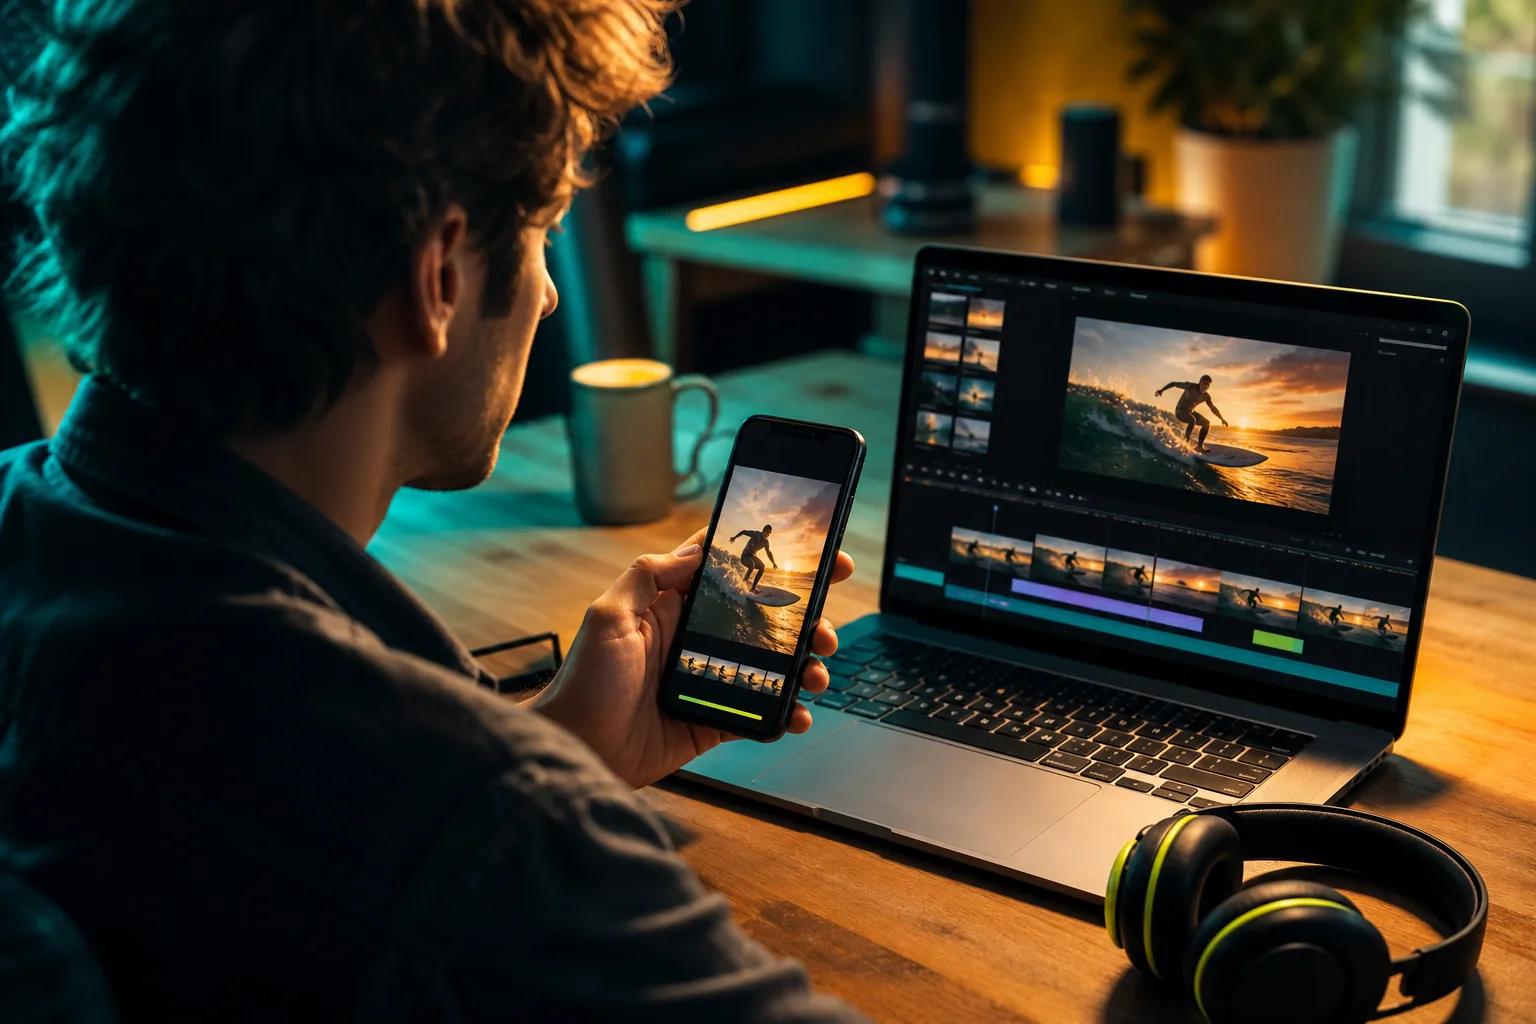
One final pass is enough for many short clips. Fix the issue viewers will notice first, export again, then watch the actual file once before you post.
Frequently Asked Questions
How do I turn a photo into a video with AI?
Upload a clear photo, describe the motion you want, then generate and review a draft. Choose the video shape before you start so the subject fits the frame. Add dialogue or sound only if it helps the scene. Make one focused prompt change at a time, then export the version that looks and sounds right.
Can I turn a photo into a video for free?
Yes, some tools have free access, though the limits vary. Veo Studio's free plan includes a couple of 720p Veo videos per month and doesn't require a card. Paid plans start at $14 per month and include higher resolutions. Check the current plan details before you begin, especially if you need 1080p or 4K output.
What kind of photo works best for image-to-video?
A sharp image with a clear subject is a good starting point. Avoid heavy blur, deep shadows across a face, or a product hidden by other objects. Leave space around the subject if you want a camera move. For a person or product that must stay consistent, reference images may help guide the generated clip.
Why does my AI video look blurry or distorted?
Blurry or warped details can come from a low-detail source image or a prompt that asks for too much motion at once. Start with a clearer photo, then ask for one simple action and a gentle camera move. If only a small part looks wrong, revise that part of the prompt rather than changing the whole scene.
Can AI make a photo speak with synced dialogue?
Some video models can generate dialogue with matching mouth movement. Write a short line in quotation marks and describe who says it. Then listen and watch the result closely, since timing and pronunciation can still need another try. If the words don't fit the clip, shorten the line or remove extra actions from the prompt.
Conclusion
Start with a sharp photo and one clear movement, then review the draft before adding polish. Try a short test in Veo Studio or another tool that fits your output needs. When you have a clip you like, export it in the format your audience will watch and explore the related step-by-step AI video creation guide for your next project.